Ciana Blends

Makeup . Style . Body & Skincare

Friday 27 December 2013

EXTREME JOY

Hello Darlings,

This post is about Bunmi's makeup session, Bunmi is someone dear to my heart and I really looked forward to doing her makeup. I couldn't wait to be in the city of Osogbo and it was fun all through working on her face.

She made a beautiful bride. Hope you enjoy the pictures*

Gele (Headtie) tying in progress.....


Compliments of the season ,

Would love to hear from you,

Anne.


Tuesday 17 December 2013

Hello guys ,
Am happy to be back , We got some interesting posts lined up .
Really can't wait to share them with every one .
Compliments of the season!!!

Tuesday 10 December 2013

CHRISTMAS IS COMING !

HELLO DARLINGS,

GOING ON A WELL DESERVED BREAK , BUT WILL BE BACK IN NO TIME .

PLS ,WILL LOVE TO HEAR YOUR COMMENTS ABOUTS OUR POSTS.

LOVE YOU GUYS!!!

MUAH !!!

INTO THE GLOSS

Lipstick Shades: How to Pick the Right Ones 
"If I had to teach someone just one thing about lip color it would be this: Find a lipstick that looks good on your face when you are wearing absolutely no makeup." -- Bobbi Brown, Beauty

You can't really pick the one right color for lip stick. It depends on what style or look you like. Almost any lip stick will look good. It also depends on what you're wearing. If you're wearing cool colors then you should try pink lip glosses (possibly cultured by MAC) and if you're wearing warm colors then you should try a neutral beige that's kind of orangey (love nectar by MAC). The MAC colors are really nice. I happen to like the texture and application sponge of their tinted lipglasses vs their lustre glosses.
Am I a romantic, YES! Do I love weddings ? Definitely YES  !! Did I love Kemi's wedding ?YES! YES!! YES!!! 
Kemi's wedding was one I really looked forward to. I met Kemi a few days to her wedding during the makeup trial . I liked her persona, she was openminded ,confident and had an idea of how she wanted her face to look on her big day.I really couldn't wait to get started.

 I loved the colors she chose :yellow, coral and white. From the very beginning of our makeup session, I was loving  the blends of colours I used for her eyes. From gold and dark grey eyeshadow on the eyelids to the silver at the inner corners of her eyes, to make her eyes pop  and then contouring with brown .They all came out nicely.

For her lips , I opted for a wine liner and then a raspberry shade lipstick mixed with red.
All in all ,she looked really beautiful. Need I mention that she liked her makeup ? She loved it ......

The white and gold gele (head tie)  also came out beautifully. It was carefully tied with round layers in front to bring emphasis to her  face.
I had a good time, lots of fun. It was a fantastic wedding and good food too! *wink*
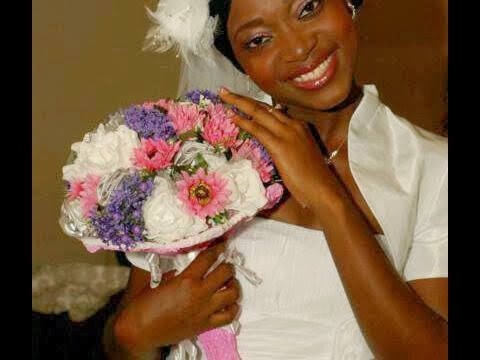


DO IT YOURSELF (DIY) : WEAR YOUR MAKEUP THE RIGHT WAY

 It is still our Do It Yourself (DIY) series.We are going to be learning how to wear makeup the right way for the right occasion.Wink*

Can't wait!!!

Love to know what you think....

xoxo

Anne

Monday 9 December 2013

HOW TO TIE A GELE (Head tie or scarf)

The head tie or "Gele" as it is popularly called is worn by a large proportion of women in Africa .Whether it is for occasions such as weddings or everyday life, women can show their pride in their African heritage by wearing a gele.

THINGS YOU NEED

Gele or six feet of 12 - inch fabric

Pins (optional)

INSTRUCTIONS

·         Straighten the gele out neatly and then fold one edge of the gele in a bit. Ensure it is evenly done. Grasp one end of the gele in your right hand and the other end in your left hand. Lower your head and position the back of your head in the middle of the gele and then tie it round the head from the back.

·         Wrap around the head and make sure it is tight and secure to form the layers shape in front.

·         Crunch the front and then fold gently to create layers. Tie the back ends tightly into a double knot.

·         Crunch the ends to give it shape. Check the gele to be sure it is firm and properly tied.

·         Tuck in any loose strands of hair around your face.

·         Arrange the extra material. By extending this material upward, you can create an elaborate look. Or, you can tuck the extra material into the wrap to create a more conservative look. It depends on your preference.